Facebook announced Timeline during their f8 event last September 22, 2011.
A timeline is a way of displaying a list of events in chronological order, sometimes described as a project artifact . It is typically a graphic design showing a long bar labeled with dates alongside itself and (usually) events labeled on points where they would have happened. And for Facebook, Timeline tells your story with a new kind of profile.
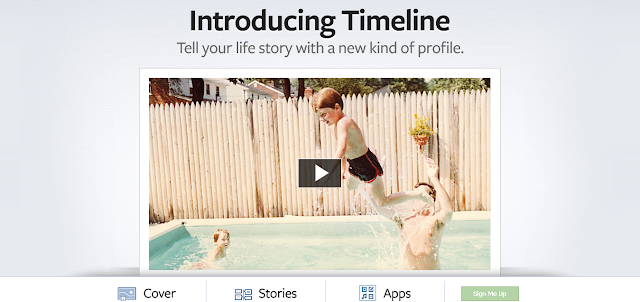
So let us get it applied to your Facebook Account.
Here it goes.
1. Log in to your Facebook Account.
2. Go to Facebook's developers site https://developers.facebook.com/
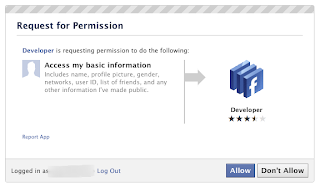
and Allow Developer for permission. (this is applicable to user who hasn't allowed the developer in their account)
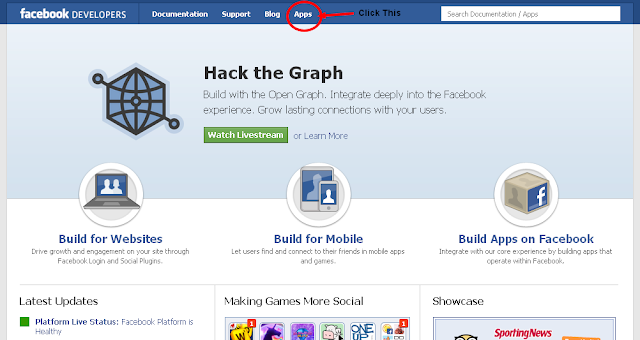
3. If you are already in the Developers Site, Click Apps top panel of the site.
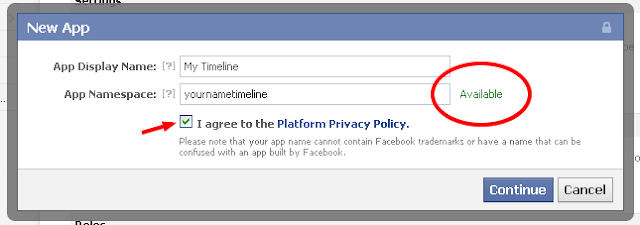
4. Create a New App. Don't worry your app will not be submitted to the developers app directory. If your account isn't authenticated yet? You can't create an App. To authenticate using mobile phone number visit how to authenticate facebook using mobile number.

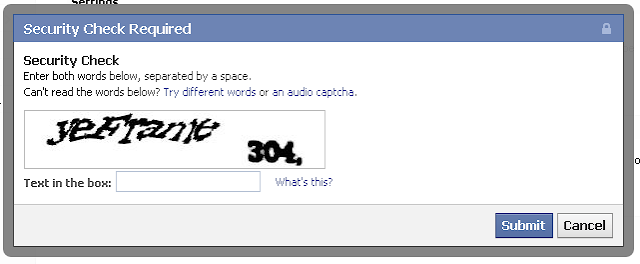
5. You will be then prompted with the Security Check box. Make sure you input the correct figures then hit Submit
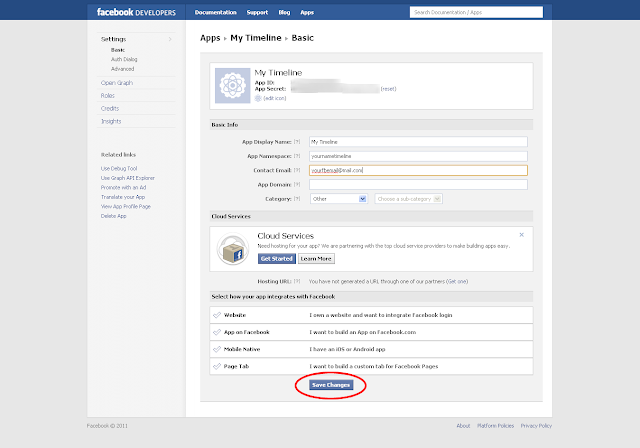
6. Your App will then be created and hit Save Changes.
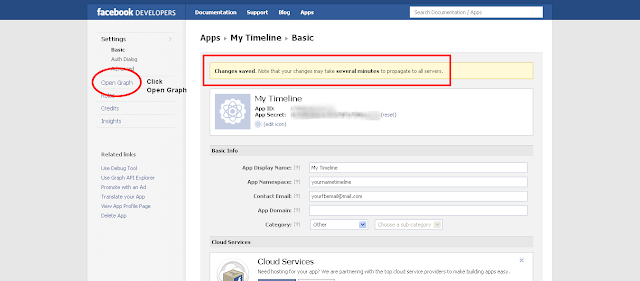
7. Once your App is saved, hit Open Graph at the left panel of the page.
8. You will see page like in the image below, and fill up the two fields and hit Get Started.
9. Go to your Facebook Homepage or to your Profile Page. You will then see an invitation on trying Facebook Timeline (usually take 2-3mins).
10. Once you see the invitation, click Get it Now and start making your Facebook Timeline.
note: Your profile page will now the new Facebook Timeline, if you wish to publish it, friends and users who uses Timeline will only see your layout. Normal profile layout will still be seen to those who hasn't enable timeline yet. To know more about Facebook Timeline visit this link : https://www.facebook.com/about/timeline


